Plum jam
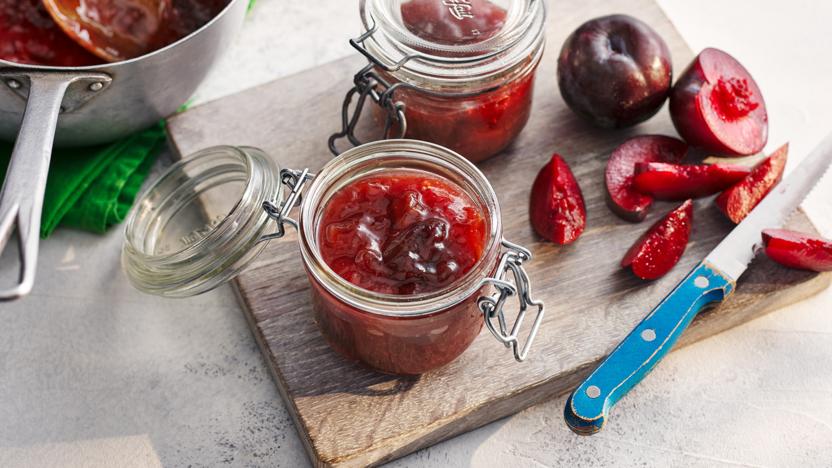
This is a great recipe to use up any excess plums from a productive tree. In order to keep the jam full of chunky pieces of plum, this recipe uses a two-stage method – the softened plums will absorb the sugar as they rest in the syrup and this will stop them rising to the top of the jar.
Method
Put the plums, lemon juice and 150ml/5fl oz water in a heavy-based saucepan or preserving pan. Bring to a simmer and cook gently for about 5 minutes until the plums are beginning to soften a little. Add the sugar, a third at a time, stirring until dissolved, then remove the pan from the heat. Cover the pan and leave for a couple of hours or overnight so the mixture can cool – the plums will sink from the surface as they become heavier.
Return the pan to the heat, stirring to remove any sugar clumps on the base of the pan, and carefully bring the mixture to the boil. Increase the heat and bring to a rapid boil for approximately 10 minutes until the setting point is reached (see tips). Remove from the heat and leave to rest for 5 minutes to allow the fruit to settle.
Tip the jam into a wide-necked jug with a good pouring lip, then fill four sterilised jars to the brim. Seal immediately with the lids and store in a cool, dark place. The jam is best eaten within 1 year.
Recipe Tips
There are many varieties of plums – Victoria, Czar, Mirabelle, Early Rivers, greengages, damsons and Pershore are some of the more widely available types. Each variety has its own special characteristics that will be reflected when using them to make jam and, unquestionably, some plums are better for jam making than others. With its good pectin content, its tender yellow flesh and its customary abundance, the Victoria plum is excellent for jam. Avoid using imported dessert plums as they are often hard and lacking in flavour. The UK plum season stretches from late July until the end of September, giving a wide window of availability.
To prevent the plum skins toughening, do make sure the plums are lightly softened before adding the sugar.
The setting point gel test is traditionally known as the ‘wrinkle’ test, but I prefer to call it the gel test because, at this point, it should look like a light gel, rather than a strong wrinkle. Remember jam should set in the jar and not in the pan! You will know when the jam is nearly ready because the loose, light-coloured bubbles on the surface will have almost disappeared to reveal a glossy surface, and the boil will be slower and more rhythmic. When it gets to this stage, remove the pan from the heat – the preserve will continue to cook so it is important to do this – and drop a little of the hot preserve on a cold plate or stainless steel spoon. Leave to one side or pop in the fridge for a minute or so to cool. Lightly push with a finger to see if the jam comes together in a small gel that holds its shape and is not too runny. Any gel should be light, delicate and not too sticky. If the mixture remains runny, return the pan to the heat for a couple more minutes and then test again.
Here are some variations to this recipe:
• Add 2 or 3 star anise or a couple of cinnamon sticks to the poaching fruit. Remove at the end of poaching.
• Add 1–2 tsp brandy to each jar – adding to individual jars means you can add brandy to as many jars as preferred.
• Add 75g–100g/2¾–3½oz walnut pieces towards the end of the boiling time.
Related Recipes